Makerspace - Arduino Blinking LED Challenge
1) Project:
This blog post follows my initial exploration of my Arduino Super Starter Kit as I attempt to complete the "blinking led" project. The goal is to use the Arduino IDE interface to write code for a blinking LED, build a circuit using my Arduino, breadboard, wires and LEDs, upload my code to my Arduino, and then explore different variations and possibilities in the realm of blinking LEDs.
2) Code:
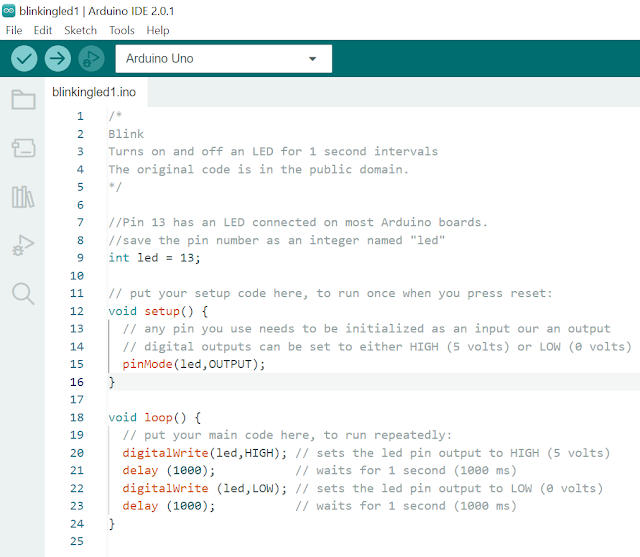
Here is a screenshot of my annotated code for the blinking LED project.
3) Circuit Design:
Here is a video showing the circuit I built using my Arduino and breadboard.4) Electronic Diagram:
6) Problem Solving Process:
I downloaded and installed the Arduino IDE without any issues. However, when I went to set up the ports, I had no luck detecting my Arduino.
a) I initially checked all of the physical connections to make sure the cables were plugged in properly. The lights on my board turned on when I plugged it in to my computer, which confirmed that the cable was transmitting power between the computer and the board, so I assume it was plugged in correctly.
b) I read in some online forums that sometimes a USB bus will be underpowered and therefore fail to detect when an Arduino is plugged in. So I used the 9V battery that came with my kit and connected it to the the external power plug on the Arduino board. However, I was still unable to detect my Arduino through the Arduino IDE.
c) I considered that maybe some drivers that communicated with the USB port on my computer were out-of-date, or maybe that this board needed some board-specific drivers installed. I checked that my drivers were up to date. Then I searched the ELEGOO site to see if their board required any specific drivers. I couldn't find any there to download, so I did a general internet search for drivers. WARNING: Do not install random "drivers" that you find on the internet -- I downloaded a Trojan horse virus, which I thankfully recognized quickly, uninstalled, deleted and then ran a virus scanner to make sure my drive was clean. LESSON LEARNED!!
d) Next, I considered that maybe my computer (a Surface Go) couldn't support an Arduino connection. I decided to test this hypothesis my installing the Arduino IDE on my mom's Dell computer and testing whether it could connect to the Arduino and upload my code. I noticed that she had 5 different USB ports on her computer with slightly different markings above each of them (some had a little power icon with others did not, etc.). I tested all of her USB ports, but was never able to detect any COM ports within the Arduino IDE.
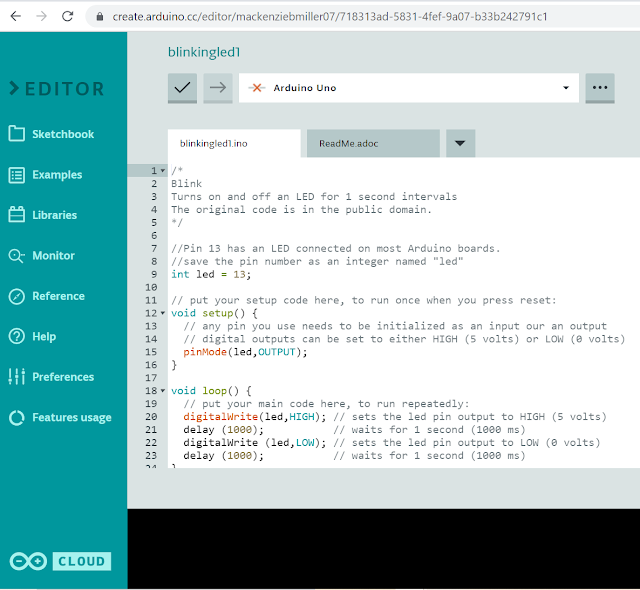
e) After testing it on my mom's computer, I tried two other computers. One was a work computer which had firewalls that did not allow me to download and install the Arduino IDE software. I found that Arduino also offers a web interface version of the IDE. I created an account and logged into the web version. I was able to write and compile my code online. However, a supplemental download was required in order to interface with the USB ports from the web browser. Because it was a work computer, I did not have permissions to install this interface driver.
The final computer I tested was an old one I've had for about 10 years that is mostly retired now. I struggled to even get it to turn on, and was also unsuccessful in getting the Arduino to connect (but hey, it was worth a try)!
f) I concluded that there was most likely a manufacturing error with the USB port on my Arduino board. I did choose to buy the cheaper board (ELEGOO) from China vs. the original Italian product, so that was a risk I took for the lower price. I have since ordered a name-brand Arduino from Italy (arriving tomorrow)!
7: Final Reflections:
My next steps will certainly involve playing around with my name-brand Arduino once it arrives and tackling a few of these blinking LED challenges that looked like a lot of fun. I think this intro is a great way to explore how Arduinos work and get started with the Arduino IDE. I'm also really grateful to have discovered the web editor version of the IDE, and will certainly play around with that more! It may be a good alternative for students with Chromebooks or using community computers so that they can keep all their scripts in an online folder, rather than on a desktop.
Overall, I hope next week is a little more productive, and I get to spend more time playing with circuits and troubleshooting more fun problems!


Comments
Post a Comment